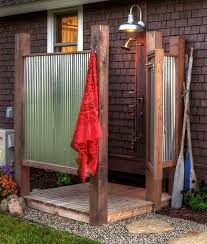
How to Create DIY Outdoor Bathrooms
Have you ever wanted to have an outdoor bathroom, but weren’t quite sure how to go about it? Or maybe you live in an apartment and don’t have the space for a traditional bathroom. Whatever the reason, there are plenty of reasons why you might want to create a DIY outdoor bathroom. And the good news is that it’s actually not that difficult to do!
Here are a few tips for creating your own DIY outdoor bathroom:
1. Choose the right location. The first step is to choose the right location for your bathroom. You’ll want to make sure that it’s in a spot that gets plenty of sunlight and is also far enough away from your house so that you won’t be bothered by any noise from inside.
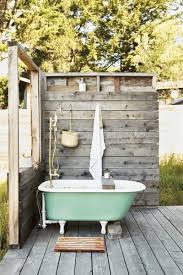
2. Set up a privacy screen. Once you’ve chosen the perfect location, the next step is to set up a privacy screen. This will help ensure that you have some privacy while using your outdoor bathroom. There are a variety of different ways that you can do this, so be sure to explore all of your options before making a final decision.
3. Install a toilet.One of the most important components of an outdoor bathroom is, of course, the toilet! If you're on city sewer, you can install a regular flush toilet. If not, you'll need to get a composting toilet or an incinerating toilet.
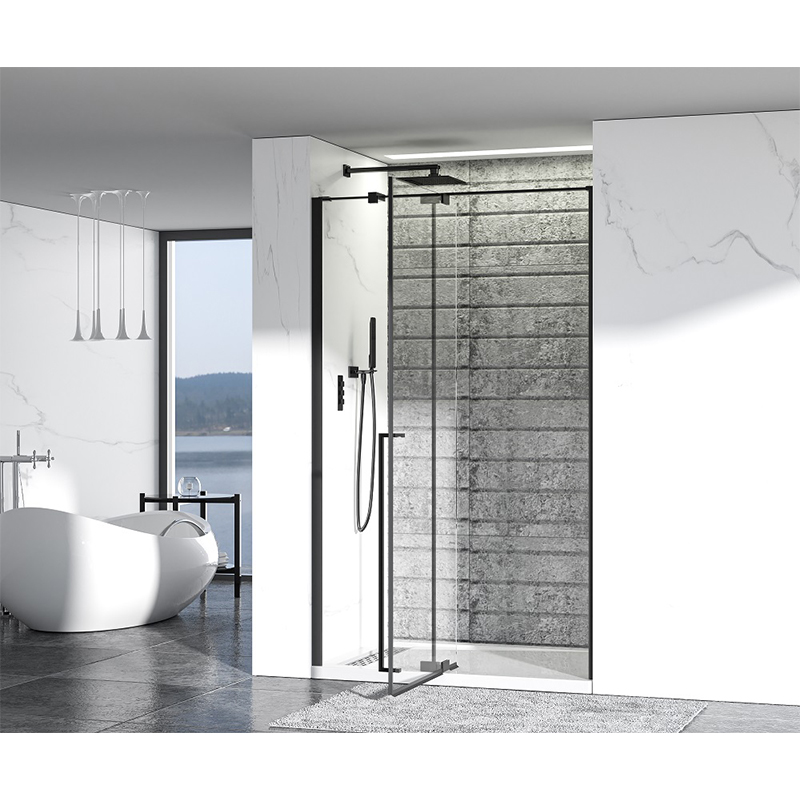
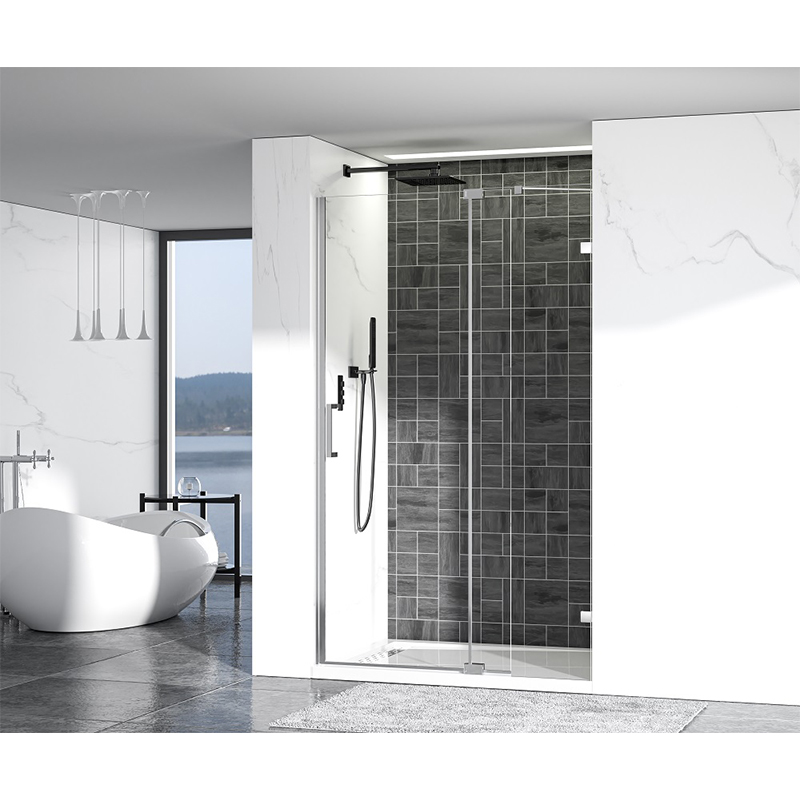
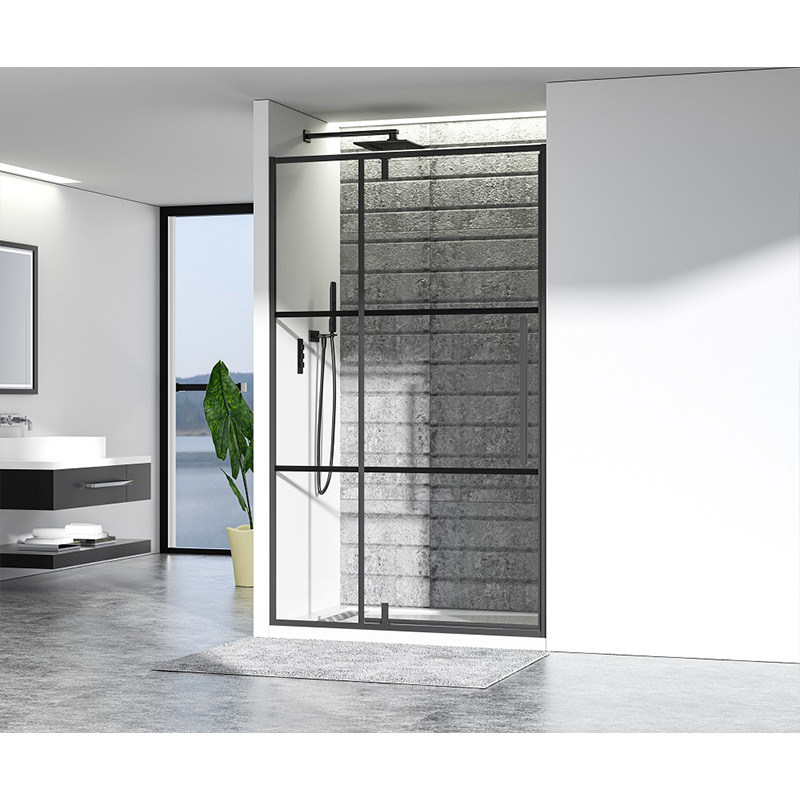
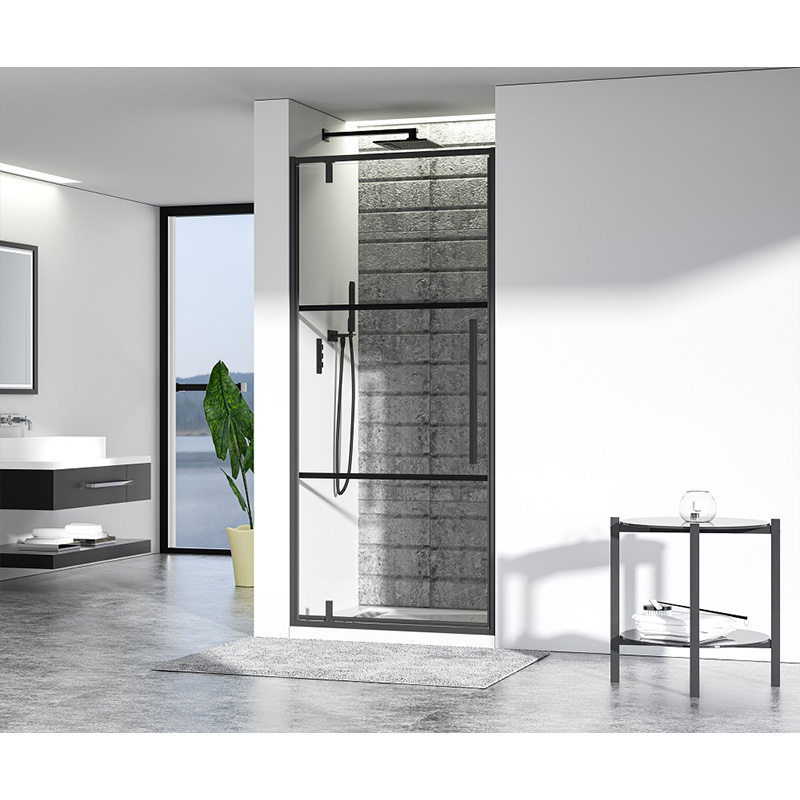
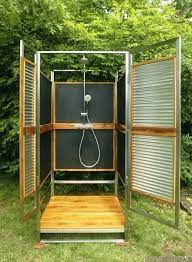
4. Add a shower.If you want to be able to take showers outdoors, you'll need to install a shower fixture and hook it up to your water supply. You can either build a shower enclosure out of PVC pipe and fabric or buy a pre-made one.


